Now that old-style jigsaw puzzles are coming back in fashion, we've seen an increase in customers ordering custom puzzles. Occasionally, we get a request from a customer asking for advice on how to put a challenging jigsaw puzzle together faster and more effectively.
There are a number of tricks and tips that can help you assemble a puzzle with less frustration, FAST.
EXPERT TIP: If you are practicing for speed puzzle events, we have a series of blog posts to help get your started. Check out our post on Speed Puzzling Tips.
1. Choose A Work Area That Fits The Puzzle
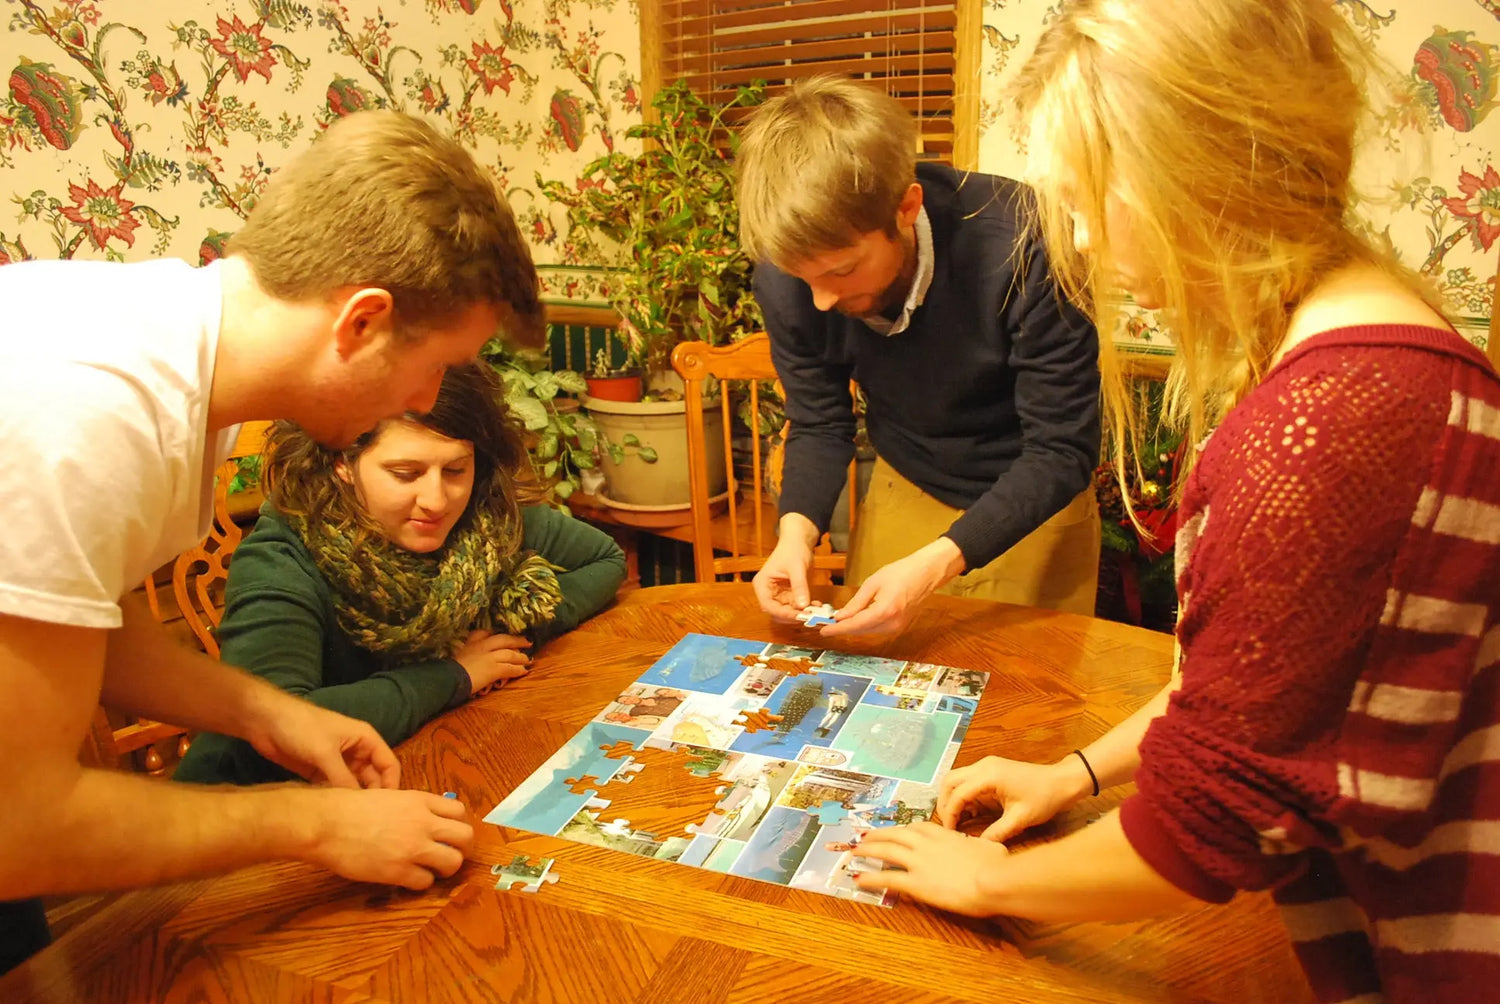
Most jigsaw puzzles will show the finished size on the puzzle box. It's important to choose a proper area that will not be in the way of daily routines. While a kitchen table is an excellent place to assemble a puzzle, it might not be the most practical place for your adventure. Look for a card table or another flat surface that might not be disturbed easily. Look for a low-traffic area or flat surface that will hold the size of the puzzle and be undisturbed. Puzzle Mats come in quite handy if you have to move the puzzle.
EXPERT TIP: If you plan on gluing your finished project, assemble on a piece of cardboard that is 2 or more inches larger than the finished size of the puzzle on all sides. You will need to flip the puzzle over to glue and this will save some work down the road. Check out our article on How To Glue A Puzzle. Also, placing the puzzle on vinyl will help you move the pieces easier and faster. It's the surface of choice in puzzle competitions.
2. Lighting is the key to assembling a puzzle FAST.
In order to properly see the colors and patterns on a puzzle, lighting plays a big factor in the success of any avid puzzler. Floor lamps may work temporarily, but provide for shadows and also can strain the back There are many desk lamps that are recommended but be sure to find one that can be turned and maneuvered without disturbing the pieces. If choosing a desk lamp, I recommend a wireless one to avoid any mishaps with the cord.
EXPERT TIP: I've had great success with a headlamp that I picked up from the local hardware store. They are relatively inexpensive and are not intrusive.
3. Turn All Puzzle Pieces Picture Side Up | Sorting and Grouping
EXPERT TIP: When sorting the edge pieces you can cut corners and sort through most, not all, of the pieces. The remaining edge pieces will easily show up as you are assembling. To help save time and a mess, lift the puzzle pieces out of the box by hand to avoid any dust from manufacturing. Empty the dust in the trash and use the box for sorting. At The Missing Piece Puzzle Company, we make sure that our puzzles are as dust free as possible.
Here's a great and comprehensive article on sorting techniques that may help during a puzzle competition: The Art Of Effective Sorting
4. Assembling The Border
5. Assembling The Center
All puzzle pieces have what I call hooks or knobs. Now that you have sorted the pieces by color, texture, or shape, you can begin placing them together based on whether the hooks and knobs will line up. Many times it's obvious when they will (or won't) line up. It's recommended that you work in small sections of the puzzle, as some sections will be easier and faster to assemble. Once you complete a little section its time to place it within the framework of the puzzle. Try to place it in the area that it will be when you have completed the puzzle.6. Keep Working On It And Don't Give Up
Puzzles come in a variety of shapes, sizes, and difficulty levels. At times you might need to step away from the puzzle and take a break from assembling. A fresh set of eyes always helps. Puzzling should be a fun experience and should not be frustrating. Whether it is taking more time than you allotted, just know that this is a common occurrence. The more you puzzle to develop your skills, the easier you'll find puzzling and the better you'll become.
To Frame Or Not To Frame
Congratulations on completing your puzzle. Now it's time to decide if you will be framing your masterpiece or crumbling it back up to put in the box to share with another, or to redo the puzzle at a later time. If you decide to frame your puzzle, we have some expert tips and advice on using glue, or not using glue. Check out the blog on GLUING A PUZZLE or NOT GLUING A PUZZLE.
I hope that you enjoyed these suggestions and that they help you assemble even the toughest puzzle with skill and ease. If you think you're now ready to host a jigsaw puzzle competition, check out our Blog on HOW TO HOST A SUCCESSFUL JIGSAW PUZZLE FUNDRAISER.

You can START HERE on designing and making a custom photo puzzle. It's easy, fast, and will arrive at your doorstep in days.
MADE IN AMERICA


Comments
Smitten
I love puzzles. I’ve done over 100. I have certain brands & styles I like. I buy at my local thrift stores & share them when I’m done. I enjoy doing 1,000-piece puzzles with grandchildren. If I’m by myself, I usually do a 500 piece. Great fun for me!
January 16, 2025
malaya
NEVER TRY 500 PIECE PUZZLE IT TAKE ME 3 WEEKS!!!
April 11, 2024
malaya
WHY DONT YOU TRY 500 piece puzzle butterfly it taking me 3 weeks
April 11, 2024
Lowell
Lots of good ideas, we use a color spectrum reading lamp and work from light outside when available in WI. My wife gave me a puzzle board with drawers that helps a lot. I do a lot of sub assembly before putting words or objects on the board, you can do this while going on the loo, watching TV, etc PUZZLING ISN’T IT
January 08, 2024
Dave
I make puzzle boards using drywall (sheetrock). They can be made to about any size, but 24×36″
will handle most puzzles. They can be painted or not. I tape the edges to keep them from degrading. You can get 2×4′ (or larger) sheets at home centers. They work great for me, as they provide a good background surface and can be moved around.
December 27, 2023
David Schwartz
I do the outside border first after I have sorted all colors the best I can.i keep a good power magnifying glass to use on pieces that are tough to figure out.i just finished a 1000 piece of everything in Los Angeles so many different colors and shapes of building it was tough.i think a puzzle with just a few objects are easier to do then one with a lot of objects.the puzzle took me almost 2 weeks to do some people that have a better system or smarter claim they can do them in a day or less.
December 27, 2023
Kathy
I purchased a round puzzle unit with green fabric in center and you can swivel it around. I don’t do any puzzles over 1000 pieces. I do the edges first then finish it. I have done over 100 and love it.
November 03, 2023
Alison Shepherd
It’s been a hot summer here in Vancouver, BC., so I enjoy being inside to be cool! Perfect for doing puzzles.
There are a lot of good ones coming out these days👏😀‼️ One day I’d like to submit one of my acrylic paintings to be made into a puzzle. Any ideas how that process works? 🧩🧩
Alison 🐑
February 05, 2024
Crystal Bushinsky CZT38
I love Puzzles but I rarely find time to work on them…Right now, while I’m currestaying at my friend’s house, they have laid out a 1000 piece puzzle for me to work on. It has been a lot of fun and very relaxing 🤗
July 21, 2023
Crystal Bushinsky CZT38
I love Puzzles but I rarely find time to work on them…Right now, while I’m currestaying at my friend’s house, they have laid out a 1000 piece puzzle for me to work on. It has been a lot of fun and very relaxing 🤗
August 10, 2023
Leave a comment